19. Accounts: Builders, Contractors & Dealers (Pro)
Track the partner businesses that send you work, and see how much of your pipeline each one is worth.
Note: Accounts require an active Pro subscription.
19.1 Account vs. Client
Get this distinction right and the rest of the chapter follows.
| Account | Client | |
|---|---|---|
| Who it is | The partner business that sends you work — a builder, a general contractor, a dealer, an architect, a developer | The person or company whose countertop you are actually fabricating |
| Example | ABC Builders | The Johnsons at 412 Oak Street, whom ABC Builders sent you |
| What hangs off it | Contacts, linked clients, default pricing and terms, default commission | Projects, quotes, orders, invoices |
| Does work happen here? | No — an account never has a project of its own | Yes — every project belongs to a client |
The relationship is one-to-many: one account, many clients. ABC Builders is one account; the twelve homeowners they sent you this year are twelve clients, each linked back to that one account.
Open your accounts from More > Accounts.
The test to apply
Ask: "Do I invoice this party for a countertop, or do they hand me the customer who gets the countertop?" If they hand you customers, they are an account. If you invoice them for a specific job, they are a client. A builder who both refers homeowners and buys jobs on their own tab needs both — an account for the referrals, and a client record for the work billed directly to them.
19.2 When to Create an Account
You do not need an account for every walk-in homeowner. Create one when at least one of these is true:
- Repeat source of work. The same builder, contractor, or dealer keeps sending you jobs and you want to know how many, and how much they are worth.
- Consolidated billing. Several jobs get billed to one business rather than to each homeowner. The order can then be billed to the account instead of the client — see the Bill To field when creating a project (6.4 Projects & Workflows).
- Shared terms. Everyone under that business should get the same price list, the same "PO number required" rule, or the same tax-exempt status without you setting it job by job.
- Commission tracking. You pay the dealer or referrer a cut, and you want the rate to apply automatically to every order that comes through them.
- More than one person to call. A builder with a project manager, an office manager, and an owner needs several contacts under one roof — a client record only holds one main contact.
If none of these apply, a plain client record is enough. Adding an account for a one-time homeowner just gives you an extra list to maintain.
19.3 Creating an Account
- Go to More > Accounts.
- Tap New Account.
- Fill in the form and tap Save.
Basic Info
| Field | Description |
|---|---|
| Photo/logo | Tap the avatar at the top to upload the partner's logo |
| Account Name | The business or partner name (e.g., "ABC Builders") — required |
| Account type | Builder, Contractor, Dealer, Architect, Designer, Developer, Other, or one of your own types (see 19.7) |
| Status | Active or Inactive — inactive partners stay on file but can be filtered out |
| Main contact email for the partner business | |
| Phone | Main phone number |
| Cell Phone | Mobile number |
| Website | The partner's site — becomes a tappable link on the detail page |
| Fax | Fax number, for partners who still send work that way |
| Tax ID | Their tax identification number |
| Default Project Manager | Who owns the work that comes from this partner. New projects under the account start with this person assigned. The list holds active team members only — an account manager who does not have a login here cannot be picked |
Coming from another system
What other countertop software calls the account manager — and what many shops call the account's sales rep or rep — is this Default Project Manager field, and what it calls the account notes is the Notes and Tags section further down this same form. Both already exist — they are just under our names.
Changing the sales rep of an account (someone left, or the account changes hands): open the account, tap Edit, pick the new person under Default Project Manager and save. It only affects projects created from now on — jobs already open keep whoever is assigned to them. You can also just ask the Concierge: "change the sales rep of Mitchell Construction to Leticia".
Address
| Field | Description |
|---|---|
| Street Address | Start typing and pick from the address suggestions |
| Address Line 2 | Suite, unit, floor |
| City / State | Filled automatically when you pick a suggested address |
| ZIP Code / Country | Same |
Once the address resolves, a small map preview appears in the form, and the account's detail page gains a map card with a Directions button.
Pricing & Terms
| Setting | What it does |
|---|---|
| Purchase Order Required | Orders for this partner cannot be created without a PO number |
| Tax Exempt | Quotes under this account carry no sales tax, even if the price list charges it |
| Default Tax Rate | Sales tax applied to quotes for clients under this account. Takes priority over the price list rate — use it when the same price list serves different states (Massachusetts 6.25, Connecticut 6.35, Rhode Island 7, each on its own account). Leave it blank and quotes keep using the rate on the price list |
| Default discount (%) | Pre-fills new quotes for clients under this account. Set 10 here and every new quote for this partner opens with 10% off, without anyone remembering to apply it. The same field exists on a single client, for a discount that is theirs alone |
| Payment Terms | Pre-fills the payment terms on new quotes for this account — NET 30, 50% upfront, whatever this partner agreed to. Pick from the list; the button beside the field opens Manage terms, where you add the terms your shop actually uses as they come up. It is a shop-wide list, so a term added here is available on every account from then on |
| Default Price List | The price list new clients under this account start with |
| Lock price list | Stops anyone changing the price list on clients and projects under this account. Available only once a default price list is chosen |
| Create client automatically | Shown only when creating a new account. Creates a matching client record with the same name, contact details, address, and price list, so you can start quoting immediately |
Can one account carry more than one price list?
It can use as many as you like — it just does not hold a fixed set of them. The account names one default, which every new client under it starts with, and any quote can be switched to a different price list on the spot. So a partner who buys some jobs with installation and some without is served by two lists and a switch at quote time, not by two accounts. Lock price list is the opposite choice: turn it on and nobody can switch away from the default.
I found the tax rate tab but I can't click it
If you found the tax rate tab (Default Tax Rate) and you cannot click it, look one row up: Tax Exempt is switched on. An exempt account never charges sales tax, so picking a rate would do nothing. Turn Tax Exempt off and the dropdown unlocks. The helper under the field says the same thing: Disabled because this account is marked Tax Exempt.
Default Commission
Switch on Commission enabled to set a rate that applies automatically to new orders under this account: commission type, rate type, and either a percentage or a fixed amount. See 16.1 Setting up Commissions for how commissions are calculated and paid.
Credit Limit
Switch on Credit limit enabled and enter an amount to cap how much this account can have outstanding at once. You will be warned as the balance approaches the limit, and order creation is blocked once it is exceeded — with an override option for whoever is allowed to grant it. A Credit limit notes field lets you record why the limit is what it is.
Notes and Tags
Free text for anything else worth remembering about the partner, plus the tags you use to group accounts.
19.4 Contacts
An account holds as many people as you need — the estimator you email, the PM you call from the truck, the office that pays invoices.
- Open the account.
- In the Contacts section, tap +.
- Fill in the contact:
| Field | Description |
|---|---|
| First Name | Required |
| Last Name | Optional |
| Job Title | e.g., "Project Manager" |
| Optional | |
| Phone | Office/landline |
| Cell Phone | Mobile |
| Notes | Anything specific to this person |
- Tap Save.
Each contact appears with their title, email, and phone underneath the name. Use the ⋮ menu on a contact to Edit or Delete it.
19.5 Linking Clients and Seeing the Work
Linking an existing client
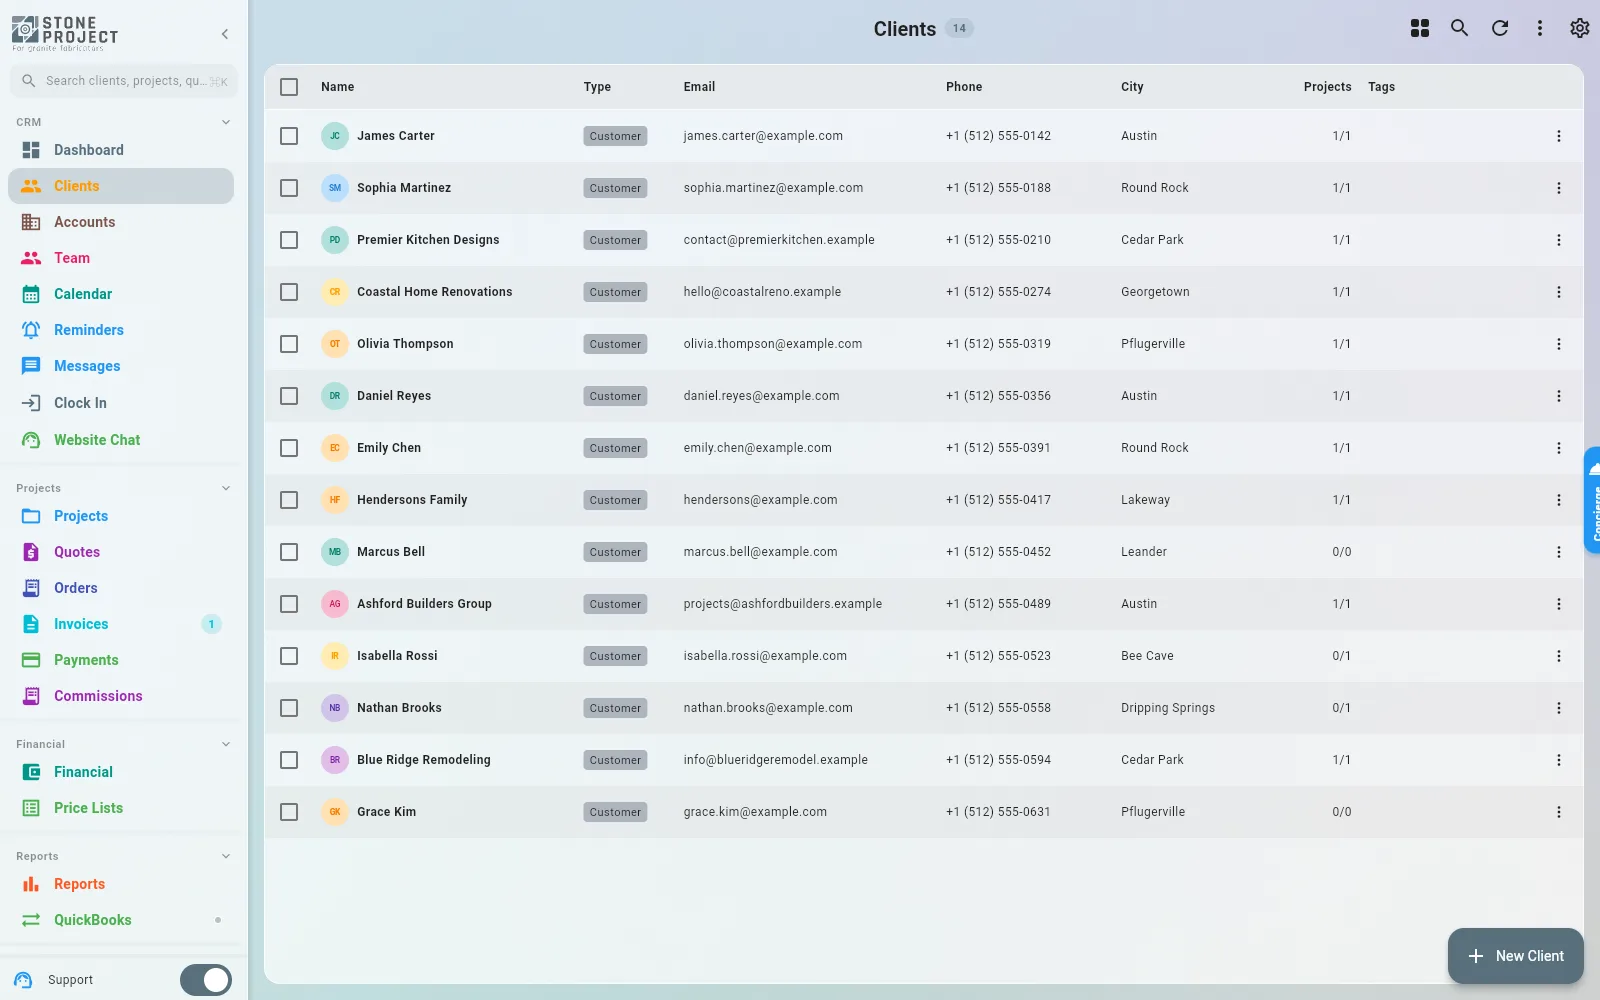
Clients are linked from the client's own record, not from the account:
- Go to More > Clients and open (or create) the client.
- In the Account field, tap and pick the account from the list.
- Tap Save.
Locked price lists
If the chosen account has Lock price list turned on, the client's price list switches to the account's default and can no longer be changed on the client.
Creating a new client from the account
Two shortcuts start from the account itself:
- ⋮ > Create client from this — opens a new client form pre-filled with the account's name, contact details, and address. Use this for the partner's own house account.
- In the Linked Clients section, tap + — opens a new client form already attached to this account. Use this for each homeowner the partner sends you.
Linked Clients
The Linked Clients section lists everyone attached to the account, with a count in the header. Tap a name to jump to that client.
Projects
The Projects section shows the projects belonging to this account's linked clients — this is the "what is this partner actually giving me" view. Each row shows the project code badge, the project name, the client, and the current workflow stage. Tap a row to open the project.
Tap + in that section to start a new project for the account. Because a project must belong to a client, one of two things happens:
- One linked client — the project form opens for that client immediately.
- Several linked clients — a picker appears so you choose which one the project is for.
If the account has no linked clients yet, the app tells you to create a linked client first.
The account page also carries an Activities section (calls, meetings, and other scheduled activities logged against the partner) and a Files section for contracts, price agreements, and other paperwork.
19.6 Answering "Where Does My Work Come From?"
Accounts exist to answer that question. Once your clients are linked, you can read the answer straight off the screens:
- How many partners of each kind do I have? Open More > Accounts and filter by type (19.8). Six dealers and two builders is a very different business from two dealers and six builders.
- How much work does one partner send? Open the account. The Linked Clients count tells you how many customers came through them, and the Projects section lists every job those customers brought — including which stage each one is sitting in.
- What do I owe them for it? If the account has a default commission, every order that comes through it picks that rate up automatically, and the amounts land in the commission report at More > Reports > Commissions. See 7.8 Commission Reports and 16.1 Setting up Commissions.
- Who is at their credit ceiling? Accounts with a credit limit warn you before you take on a job you may struggle to collect.
Unlinked clients are invisible in this view
A client with no account is not counted against any partner. If your referral numbers look low, the usual cause is clients created without the Account field filled in. Setting it later fixes the counts retroactively.
19.7 Account Types
Seven types ship with the app: Builder, Contractor, Dealer, Architect, Designer, Developer, and Other. These are built in — they are shown with a lock icon and cannot be renamed or removed.
If your trade uses different words, add your own:
- Go to Settings > Account Types.
- Tap New account type.
- Enter the Type name — something you would use to classify partners, like "Reseller" or "Interior Designer".
- Tap Save.
Your custom types are listed under Custom types, where each one can be:
- Renamed — tap the edit icon.
- Deactivated — hide it from the type picker without deleting it. Accounts already using it keep it.
- Deleted — tap the delete icon and confirm. Accounts already using that type are not changed.
Only active types appear in the type picker on the account form and in the type filter on the accounts list.
19.8 Finding, Filtering & Bulk Actions
Searching
Tap the search icon in the Accounts header. The search box matches account name, email, phone, tax ID, and city.
Filtering
The same panel carries filter chips:
- Type — one chip per active account type, built-in and custom.
- Status — Active or Inactive.
Tap a selected chip again to clear it, or tap Clear all to reset everything.
Grid view vs. table view
The icon next to search flips the layout, and your choice is remembered:
- Grid view — one card per account with the avatar, name, type badge, an Inactive badge when it applies, email, city, and linked-client count.
- Table view — dense rows with Name, Type, Status, Email, Phone, City, and Clients (the linked-client count), plus checkboxes.
Row actions
Right-click a row (or long-press on touch) — or use the ⋮ button — for View, Edit, and Delete.
Bulk actions
- In table view, tick the accounts you want. On a card, long-press to enter selection mode.
- Use Select all in the header to take everything currently filtered.
- Tap Bulk actions in the bar at the bottom and choose Delete selected.
- Confirm. Progress is shown as the deletions run, and you are told how many succeeded and how many failed.
19.9 Editing & Deleting an Account
- Edit — open the account and tap ⋮ > Edit, or use Edit from the list row menu.
- Change the logo — tap the avatar on the account's detail page.
- Delete — tap ⋮ > Delete and confirm.
Deleting an account removes it from your Accounts list. Clients, projects, quotes, orders, and invoices are not deleted — the work stays exactly where it was; it simply stops being grouped under that partner.
Prefer Inactive over Delete
If a partner has gone quiet but the history matters, set Status to Inactive instead of deleting. The account keeps its clients, projects, and commission history, and the Active filter keeps it out of your way.