18. Orders & Deposits (Pro)
Turn an accepted quote into a job you can bill, collect deposits on, and track to zero balance.
Note: Orders, deposits, and installments require an active Pro subscription.
18.1 Overview
Quote vs. Order vs. Invoice
This is the single most common source of confusion. The three documents are not the same thing, and each one exists for a different reason:
| Document | What it is | When it exists | What it does |
|---|---|---|---|
| Quote | Your proposal — a price you are offering | Before the customer says yes | Can be edited, resent, expired, rejected |
| Order | The accepted job — locked scope and price | After the customer accepts and you convert the quote | Runs the job: deposits, installments, payment status, QuickBooks |
| Invoice | The bill you send to get paid | Generated from the order | Carries the amount due, the due date, and the payment record |
The short version: a quote is a promise, an order is the work, an invoice is the bill. One order can have several invoices (a deposit invoice plus installment invoices), but every invoice traces back to one order.
Why the order matters even though the invoice collects the money: the order is what freezes the price. Once a quote becomes an order, the items and totals are copied onto the order and stop following the quote. Editing the quote afterwards does not change what you agreed to charge.
Open your orders from More > Orders.
18.2 Creating an Order from a Quote
Orders are never created from scratch — they always come from a quote.
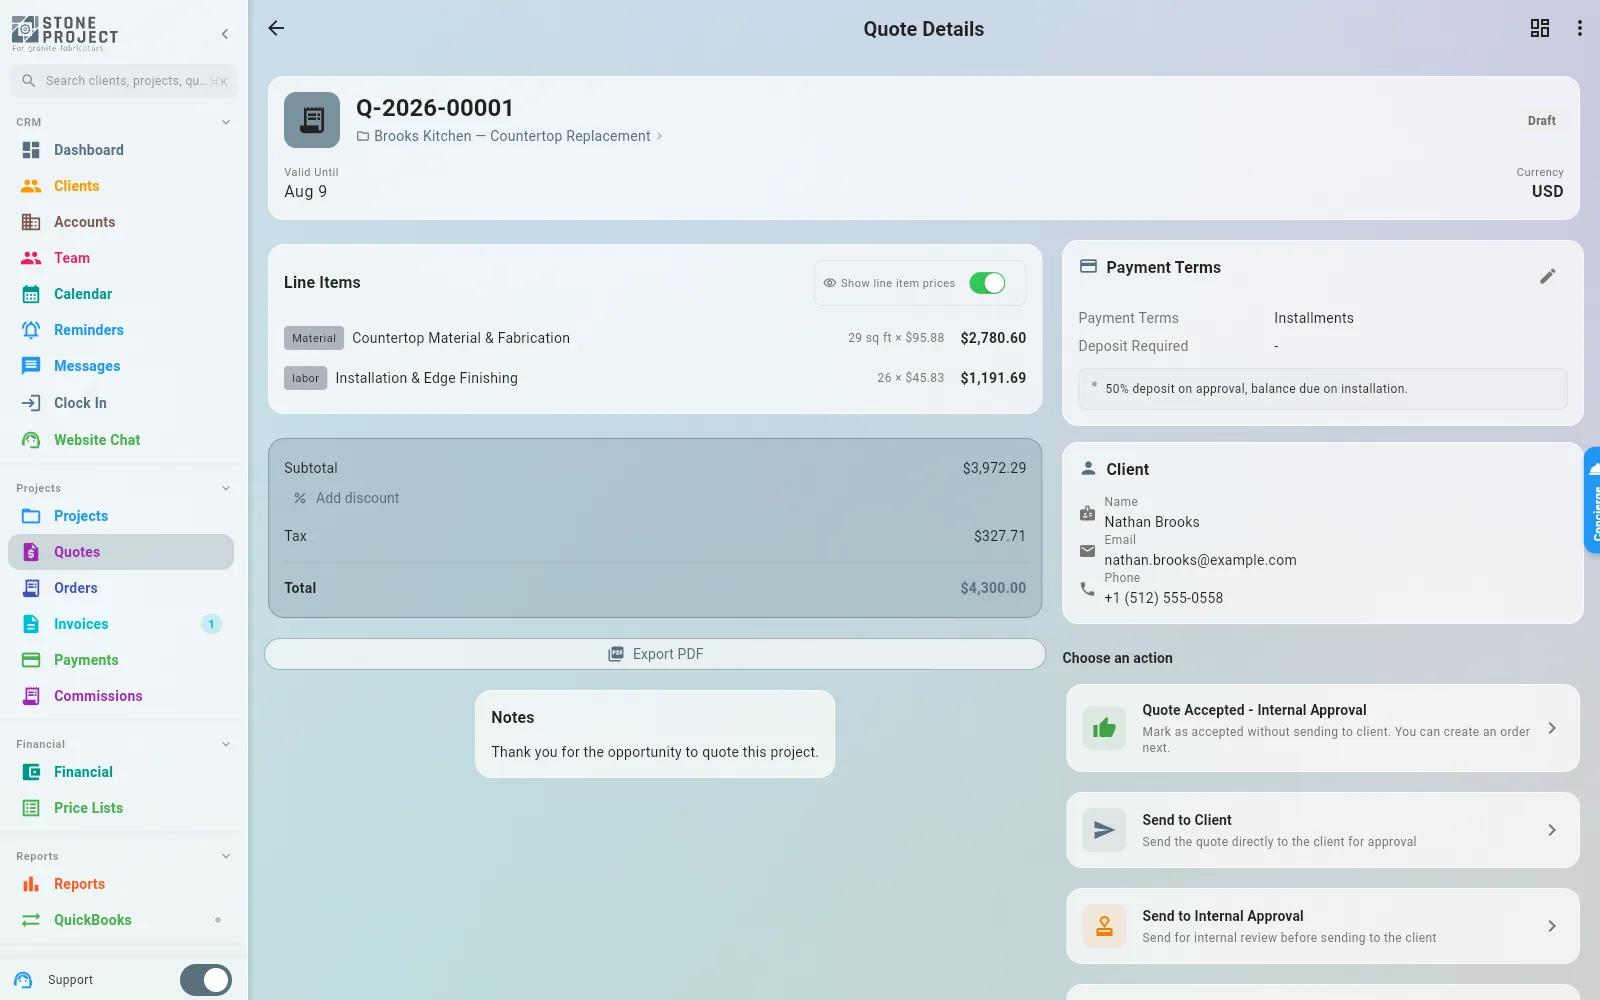
- Open the quote (More > Quotes, then tap the quote).
- Tap Create Order.
- Review the confirmation dialog. It shows the total, the payment terms, the deposit amount, and what will happen next.
- Tap Create Order to confirm.
You land on the new order's detail screen.
What gets carried over from the quote
| Carried over | Detail |
|---|---|
| Client & project | The order attaches to the quote's project and, through it, to the client |
| Bill To | If the quote billed a partner account instead of the client, that carries |
| Line items | Every priced item, exactly as quoted |
| Subtotal, discount, tax, total | Locked at the values on the quote |
| Square footage | From the project's latest drawing |
| Drawing snapshot | A frozen copy of the drawing as it was the day the order was created |
| Salesperson | Whoever is named on the quote |
| Payment terms | Deposit percentage/amount, number of installments, payment due date |
| Commission setup | Rate, type, and recipient — see 16.1 Setting up Commissions |
| Notes | The quote's notes |
An order number is generated automatically, and the sale date is set to today.
The project moves forward too
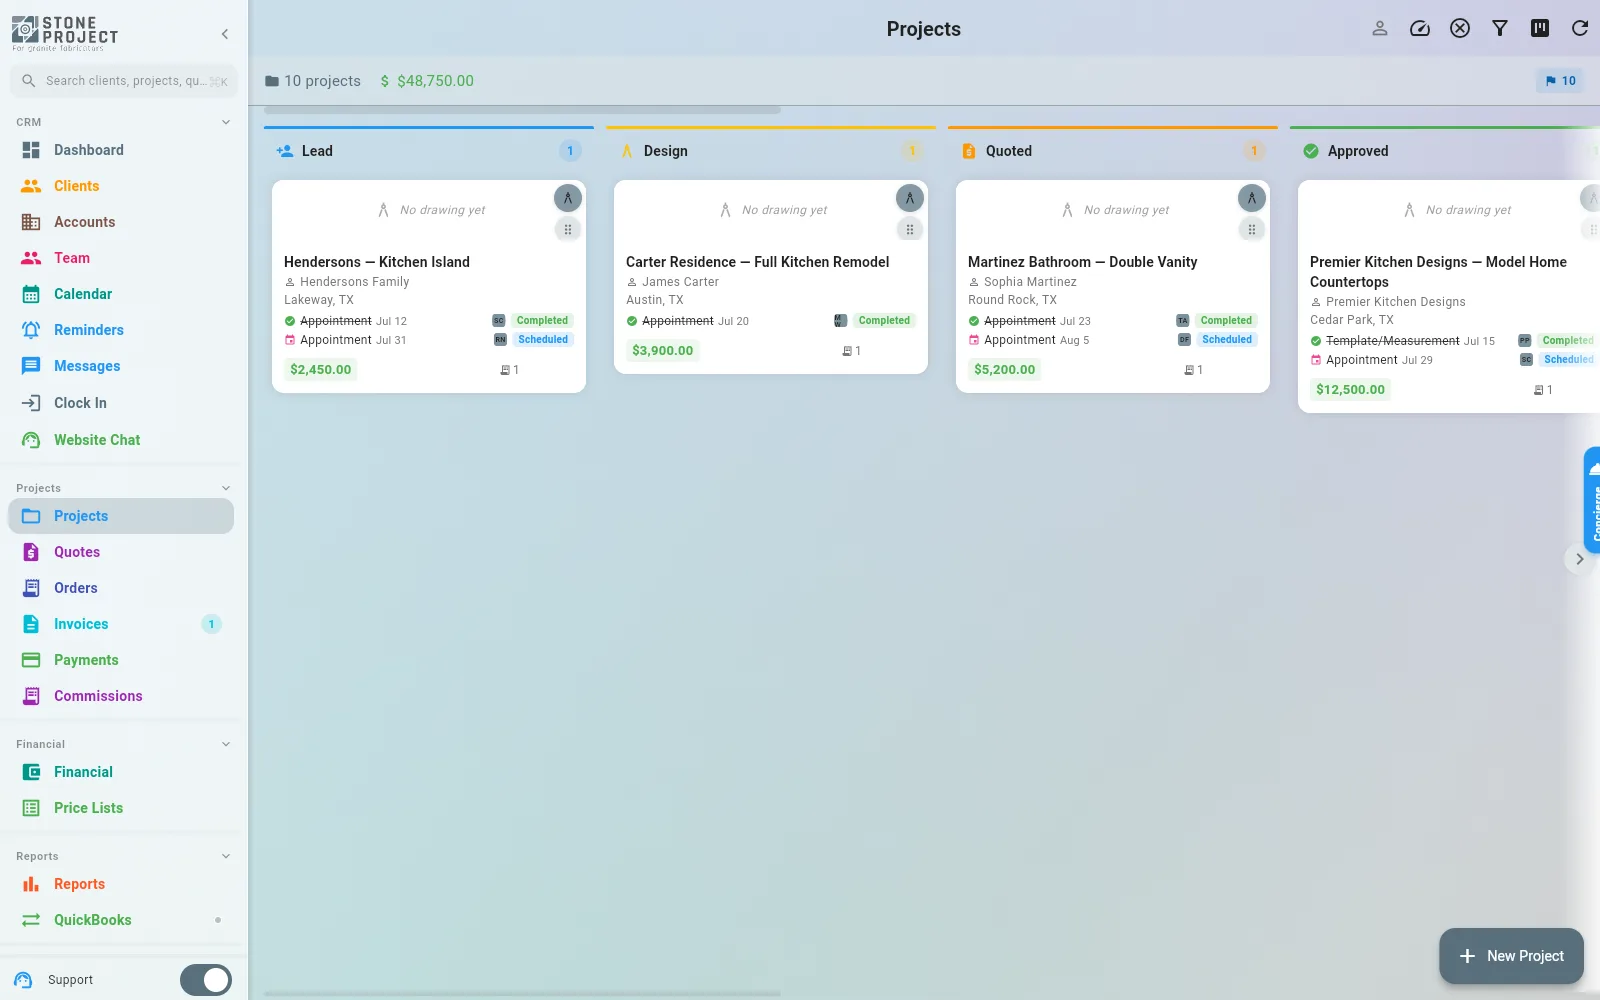
Creating the order advances the project on the Kanban board to the stage your company mapped to "quote accepted" (Approved by default). You can change or switch that off in Settings > Workflow Designer.
When the app stops you
A few company rules can block order creation. Each one shows a dialog explaining what is missing, and most of them let you continue once you supply what is needed:
| Blocker | Why it happens | What you can do |
|---|---|---|
| No client on the project | The order generates an invoice, and an invoice needs a client | Open the project and assign a client, then try again |
| Quote not accepted | Only quotes in Sent or Accepted convert | Send or accept the quote first |
| PO number required | The client (or their account) has "Purchase Order Required" set | Enter the PO number in the dialog — the order is retried with it |
| Credit limit exceeded | The client's outstanding balance plus this order passes the limit | Review the numbers and choose to override, if you are allowed |
| Contract not signed | Your company requires a signed contract before ordering | Send the contract, or choose to proceed without it |
| Deposit not collected | Your company enforces deposit-before-order | Collect the deposit, or confirm to proceed without it |
One order per quote
A quote can only be converted once. If an order already exists for it, the app tells you and points at the existing order instead of creating a duplicate.
18.3 Reading the Orders List
Go to More > Orders. The header shows live totals across all orders:
| Card | Meaning |
|---|---|
| This Month | Revenue booked this month, with the order count underneath |
| Unpaid | How many orders still owe money, and the total outstanding |
| Export | Orders not yet pushed to QuickBooks (QuickBooks users only) |
| Attention | Orders whose QuickBooks export failed (only when there are any) |
Columns in the table view
| Column | What it shows |
|---|---|
| Order | Order number/name |
| Client | The client on the project (or the lead name captured at creation) |
| Project | Project code badge plus project title |
| Status | Order status — see below |
| Total | The full order value |
| Payment Status | Unpaid, Partially Paid, Paid, or Refunded |
| Balance Due | What is still owed — red when above zero, green at zero |
| Created At | When the order was created |
Order statuses
| Status | Meaning |
|---|---|
| Active | The normal state — the job is live |
| Completed | The job is finished |
| On Hold | Paused |
| Cancelled | The order was cancelled; most actions are no longer offered |
Payment statuses
| Status | Meaning |
|---|---|
| Unpaid | Nothing received yet |
| Partially Paid | Some money in, balance still due |
| Paid | Balance is zero |
| Refunded | Money was returned to the customer |
Hiding money from the screen
If your company uses Financial Visibility, totals and balances appear as *** for team members who are not allowed to see pricing. See Settings > Financial Visibility.
18.4 Searching, Filtering & Views
Tap the search icon in the Orders header to open the filter panel. Everything applies immediately — there is no "Apply" button.
- Search box — matches order name, order number, client/lead name, account name, salesperson, and PO number.
- Status chips — filter by order status.
- Payment chips — filter by payment status.
- QuickBooks chips — filter by export status (only when QuickBooks is connected).
- Overdue only — shows orders past their payment due date that are not fully paid.
- Sort — by created date, sale date, due date, amount, or client, with an arrow chip to flip the direction.
- Date range — a From/To pair at the bottom of the panel.
- Minimum / Maximum — an amount range in your currency. Type a floor, a ceiling, or both; the list narrows as you type.
Tap Clear all to reset every chip and range at once.
Grid view vs. table view
The icon next to search toggles between the two layouts:
- Grid view — cards, one per order, showing total, payment status, invoice status, project code, square footage, salesperson, sale date, and balance. Best on phones and tablets.
- Table view — dense rows with the columns listed in 18.3, plus checkboxes for selecting several orders at once. Best on a desktop.
Your choice is remembered per screen.
Selecting several orders
In table view, tick the checkbox on each row (or the header checkbox to take the whole page), then use Bulk actions in the bar at the bottom to delete the selection. In grid view, swipe an order card left to delete it.
18.5 Deposits
A deposit is money collected before you commit shop time to the job. The deposit rule lives on the quote (percentage or fixed amount) and travels to the order when you convert.
Asking for the deposit
When an order carries an unpaid deposit, a Deposit Pending card appears on the order screen showing the amount owed. From that card you can:
- Tap Send email to email the customer a deposit request. A dialog opens with the customer's email pre-filled and a live preview of the exact message they will receive — subject line included. Correct the address if needed and tap Send.
- Tap Record Manual Deposit when the customer pays you directly (cash, check, card in the shop). Enter the amount and method, and the deposit is marked as received.
- Tap Link to existing QuickBooks payment to reconcile against a payment already recorded in QuickBooks (QuickBooks users only).
Where the deposit ends up
Once a quote has become an order, the deposit is collected through the order's invoice rather than through a standalone quote payment link. The order screen therefore offers the email request and manual recording, not a separate portal payment link.
After the deposit lands
Once the deposit is received, the invoice for the job is generated and the deposit is applied against the balance. The deposit also shows up in the Payment History card on the order, tagged Deposit, so you can always see the money separately from later payments.
Making the deposit mandatory
If you want the app to refuse order creation until the deposit is paid, turn on the deposit-before-order rule in your payment terms settings. You will still get an explicit "proceed anyway" prompt, so an urgent job is never fully blocked.
18.6 Payments & Balance Due
The Financial Summary card on the order screen is the running scoreboard:
| Line | Meaning |
|---|---|
| Subtotal | Work before discount and tax |
| Discount | Shown only when there is one, in green with a minus sign |
| Taxes | Shown only when tax applies |
| Total | What the job costs |
| Amount Paid | Everything received so far, deposit included |
| Balance Due | Total minus paid — orange while money is owed, green at zero |
| Due date | The payment due date, with an edit icon to change it |
Recording a payment
Money is recorded against the invoice, not directly against the order — that keeps one paper trail instead of two.
- Open the order.
- Tap the Record Payment button at the bottom right.
- The app opens the invoice that still has a balance. If no invoice exists yet, it offers to generate one first.
- Record the payment on the invoice.
The order updates as soon as you come back: Amount Paid rises, Balance Due falls, and the payment status moves Unpaid → Partially Paid → Paid on its own. You never set payment status by hand.
Payment History
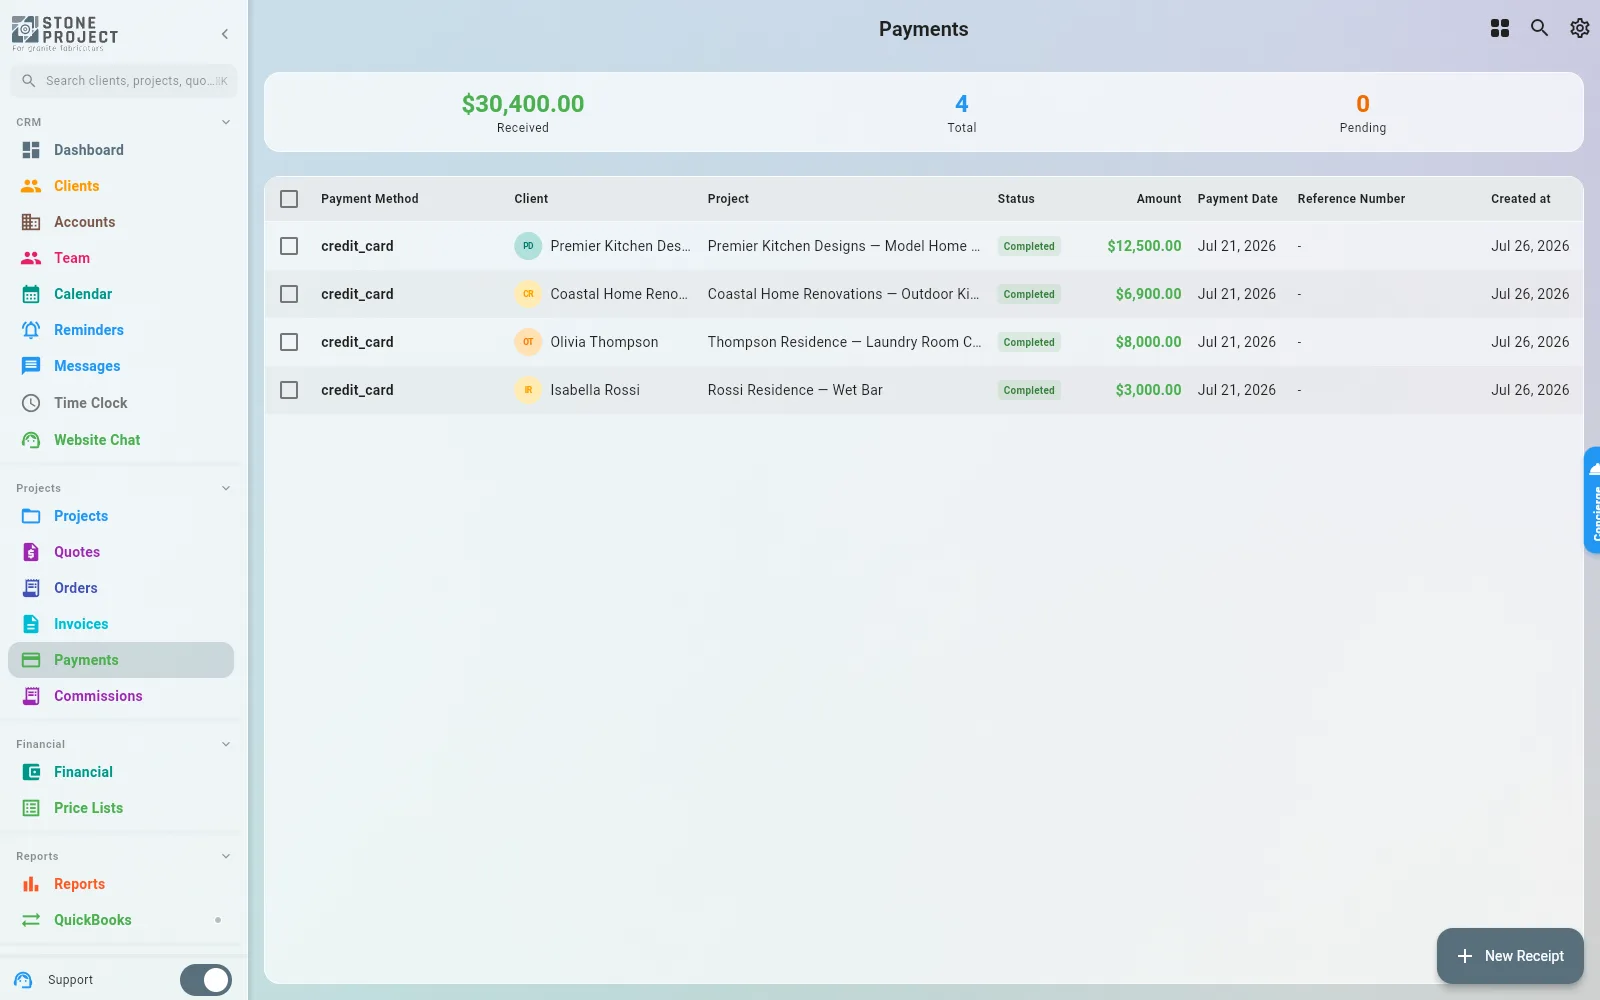
The Payment History card lists every payment tied to the order, newest first, with the record count in the header. Each entry names the method and, when the money was matched in QuickBooks, says so. A deposit appears here with its own tag. You can delete a payment from this card if it was recorded in error — you will be asked to confirm the amount first.
Changing the due date
Editing the due date on the order changes when the balance is considered late, and therefore whether the order shows up under the Overdue only filter. It does not move any installment dates — those are edited in the installment schedule (18.7).
18.7 Installments (Payment Plans)
When the quote's payment terms said "installments", the order carries a schedule. It appears on the order screen as the Installment Schedule card, showing the number of installments and whether the plan is active.
Each row shows the installment number, its due date, and its amount:
- A green check with the label struck through means paid. Paid rows also say how the money came in ("paid via Check", or "via QuickBooks").
- An orange warning means the due date has passed and it is not paid.
- An empty circle means pending.
Editing a single installment
Tap any unpaid installment row. Paid installments are locked — the app will not let you rewrite settled money.
In the dialog you can:
- Change the Amount.
- Change the Due Date with the date picker.
- Tap Save.
Splitting an installment
From the same dialog, tap Split. The installment opens as a list of parts, pre-filled as two even halves 30 days apart. From there:
- Edit the amount and date of each part.
- Tap + to add another part, or the × on a row to remove one (a split always keeps at least two parts).
- Save when the parts add up to the original installment amount — the dialog blocks saving until they balance.
Redistributing the balance
When two or more installments are still unpaid, a Redistribute Balance button appears at the bottom of the card. Use it when the plan needs reshaping rather than a single tweak.
- Tap Redistribute Balance. Paid installments are excluded — only what is still owed is on the table.
- The banner at the top shows the total to distribute and how much is still unassigned. It turns green when the numbers balance.
- Edit any amount or due date directly in the list.
- Tap Add Installment to append a new one, or the delete icon to drop one.
- Tap Redistribute to spread the outstanding balance evenly across the rows in one shot.
- Tap Save. The button stays disabled until the total balances exactly.
Add an installment, keep the total
Adding an installment does not increase what the customer owes — it splits the same balance into more payments. That is why the dialog insists on a balanced total before saving.
18.8 Generating the Invoice
An order shows its invoices in the Invoices card.
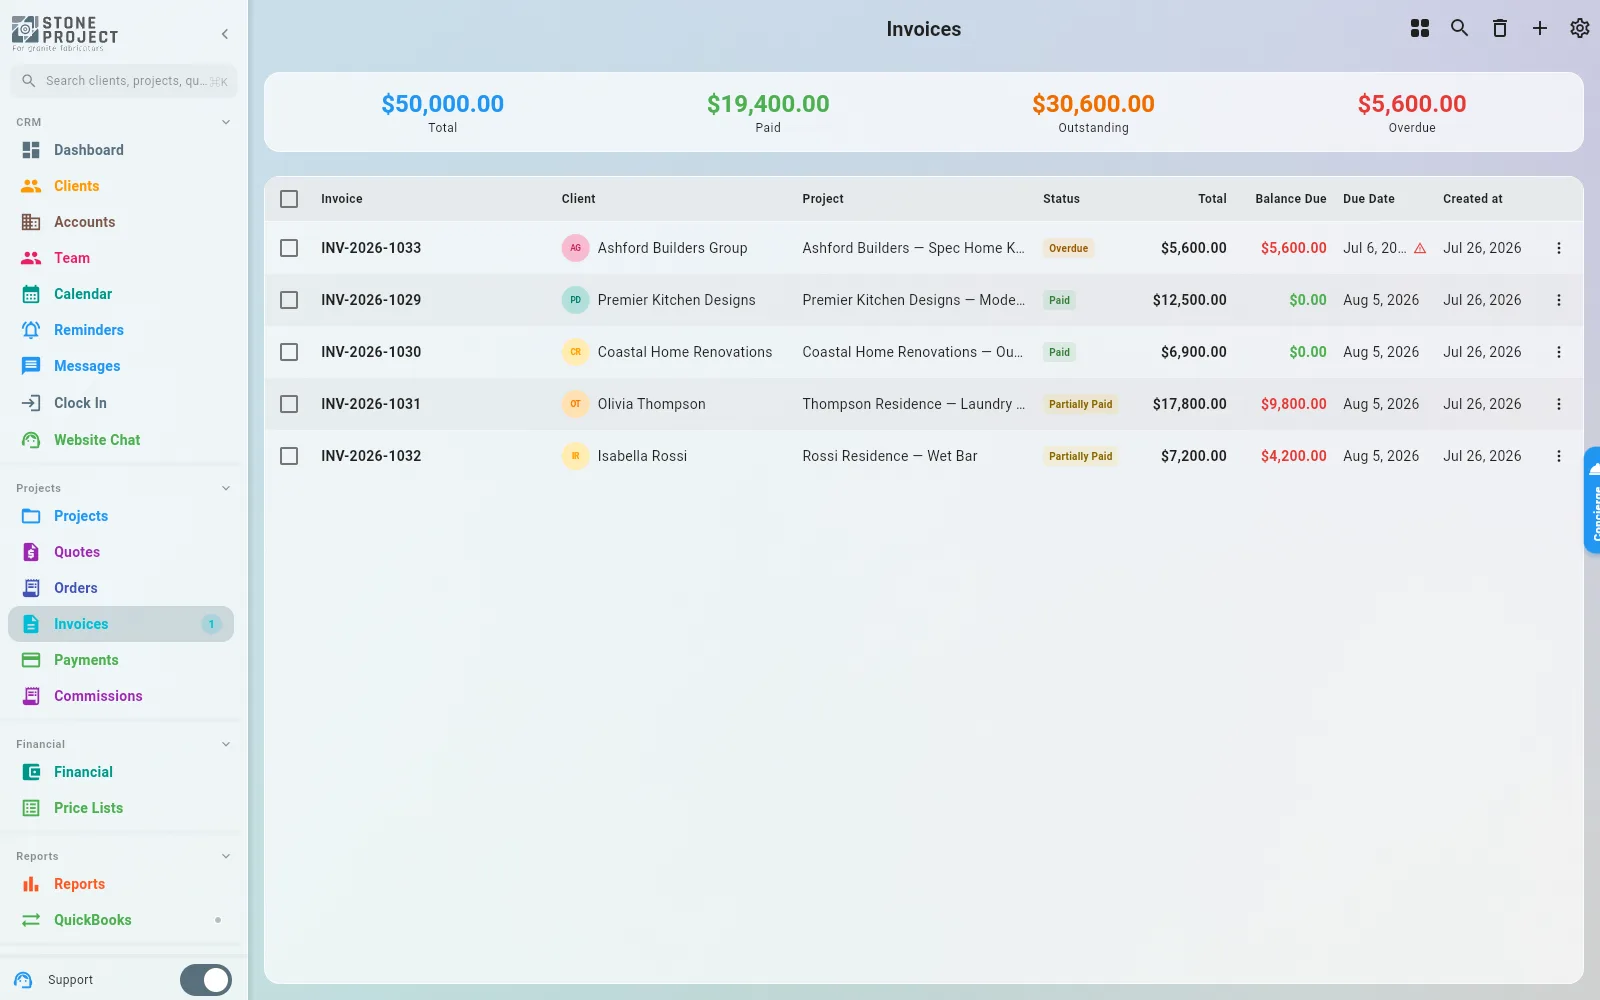
- If there is no invoice yet, the card offers Generate Invoice.
- If invoices exist, each one is listed with its number, status, and amount. Tap one to open it.
To generate an invoice: tap Generate Invoice, review the confirmation, and confirm. You are taken straight to the new invoice.
Billing by installment
Companies that bill installment by installment (rather than one invoice for everything) see a different rhythm:
- The first invoice covers the deposit or the first installment.
- The next invoice is generated automatically when the previous one is paid. You do not create them by hand.
- All tax is charged on the final invoice. The deposit and the intermediate installments show subtotal only — that is expected, not a rounding bug.
While that automatic chain is running, the Generate Invoice button steps aside and the card explains what will happen next.
Invoice on completion
If your invoice settings defer invoicing until the job is marked complete, creating the order will not produce an invoice yet. The confirmation dialog says so up front, and any deposit already collected is credited on the invoice when it is finally issued.
18.9 Exporting the Order PDF
The PDF is built from the order's source quote, so this option appears only when the order came from one.
- Open the order.
- Tap the PDF icon in the header (on a phone, use the ⋮ menu > Export PDF).
- Choose your options.
- Tap Generate PDF.
Options
| Option | Effect |
|---|---|
| Include Drawing | Puts the project drawing in the document |
| Pricing Mode | Controls how much pricing detail the customer sees |
The three pricing modes:
| Mode | What the customer sees | Use it when |
|---|---|---|
| Detailed | Price per item plus the total | The customer wants the full breakdown |
| Total per Area | Subtotal per area, no individual line items | You price by kitchen/bath/island and want it kept simple |
| Total Only | Just the total amount | You do not want your item pricing in the wild |
Your company's defaults are pre-selected and marked (default) in the dialog, so the common case is one tap. Change them in your quote PDF settings.
Live preview on desktop
On a wide screen the export opens as a side-by-side dialog: options on the left, a live preview of the PDF on the right that redraws as you change the settings. On phones and tablets you pick the options first and preview the finished file afterwards.
18.10 Sharing with the Client
Tap the link icon in the order header (or ⋮ > Share Link on a phone) to open the sharing dialog. It offers two different links, and picking the wrong one is a common mistake:
| Link | What the client can do | Choose it when |
|---|---|---|
| Approval Link | View the document and approve or decline it — no login, no account needed | You still need a decision on record |
| PDF Link | View the PDF only | The decision is already made and they just want the file |
Both links embed a PDF built with the same Include Drawing and Pricing Mode options described in 18.9, so set those before generating. The PDF link additionally lets you set a Valid Until date.
- Pick the tab you want.
- Set the drawing and pricing options.
- Tap Generate. The link appears in the box below (generating an approval link builds and uploads the PDF first, so give it a moment).
- Then choose how to deliver it:
- Copy icon — copies the bare URL.
- Copy Message — copies a ready-to-send message with your company name, the document number, and the link. This is what you want for a text message.
- Share — opens your device's share sheet (WhatsApp, Messages, email, and so on).
- Open — opens the link yourself to check what the customer will see.
Changing an option invalidates the link
Toggling the drawing or switching the pricing mode clears the generated link. Tap Generate again so the customer receives the version you actually intend.
18.11 Exporting to QuickBooks
When QuickBooks is connected, every order carries an export status, shown as a small QB chip in the order header and as a chip on each card in the list. Tap the chip for a plain-English explanation of what that status means.
| Status | Meaning |
|---|---|
| Not Exported | Not pushed to QuickBooks yet — export it when you are ready |
| Exported | In QuickBooks, and payment updates will sync |
| Needs Attention | The export failed; the error is shown so you can fix it and retry |
| Disabled | You chose to keep this order out of QuickBooks; it will never be synced |
To export:
- Open the order.
- Tap ⋮ > Export to QuickBooks.
- Review the order name and total in the confirmation dialog.
- Tap Export.
If the export previously failed, the same dialog shows the previous error and the button becomes Try Again. If you never want this particular order in QuickBooks, tap Disable in that dialog instead.
For the wider QuickBooks setup, see Integrations > QuickBooks.
18.12 Cancelling vs. Deleting an Order
These are two different things and they are not interchangeable.
| Action | What happens | Use it when |
|---|---|---|
| Cancel Order | Status becomes Cancelled. The record stays, with its history and invoices | The job is dead but you want the paper trail |
| Delete | The order is archived to the Trash — recoverable, never a permanent erase | The order was created by mistake |
| Cancel and Delete | Cancels first, then archives | Mistaken order that you want to come back as Cancelled if restored |
Cancelling
- Open the order.
- Tap ⋮ > Cancel Order.
- Confirm.
Cancelling an order that has money on it
If the order is Paid or Partially Paid, the app asks twice, and warns that cancelling a paid order may require you to refund the customer manually. The app does not issue that refund for you.
Once an order is cancelled, the invoice, QuickBooks, and email actions disappear from its menu. Viewing an existing invoice and deleting the record remain available.
Deleting and restoring
Deleting archives the order rather than erasing it. To bring one back, open More > Orders, tap the trash icon in the header, and restore it from the Orders tab of the Trash.